It just came to my attention today that I never put in how to find where to start. The very very beginning.
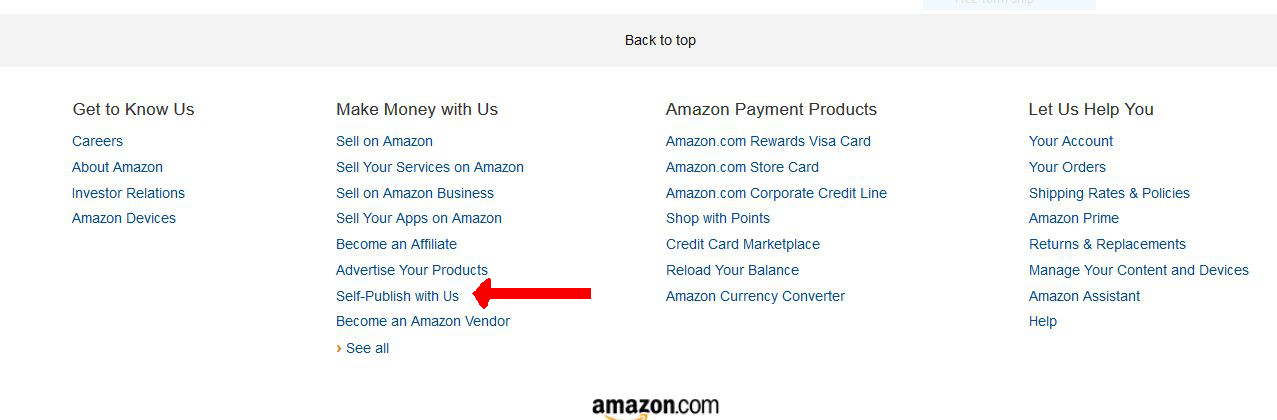
You have written a book. Doesn’t matter which kind. And you want someone to read it, and you’re willing to do it yourself. Start by going to Amazon. Pick a page, any page, and go to the bottom. You will see some columns, as shown below. In the second column, near the bottom, is the very first step toward getting your book out on Amazon. “Self-Publish.”
I’m going to take a detour here, and ask, Do you have a cover? You will need one, so if you don’t have one yet, stop everything now and go to the Helpful Hints page here on my website. Amazon does have a “Cover Creator” that has premade standard covers, but you will want your own. As reassurance, I promise you that there are any number of ways to get very nice pre-made covers for very little money. Don’t go on until you have something for a cover!
Now you have a cover. You’re ready to continue, and you have no idea what to expect when you take the momentous step of clicking on “Self Publish.” So I’m going to try to take some of the mystery out of it. Go ahead and click on that link. The next thing you see after you take that first leap of faith is this:
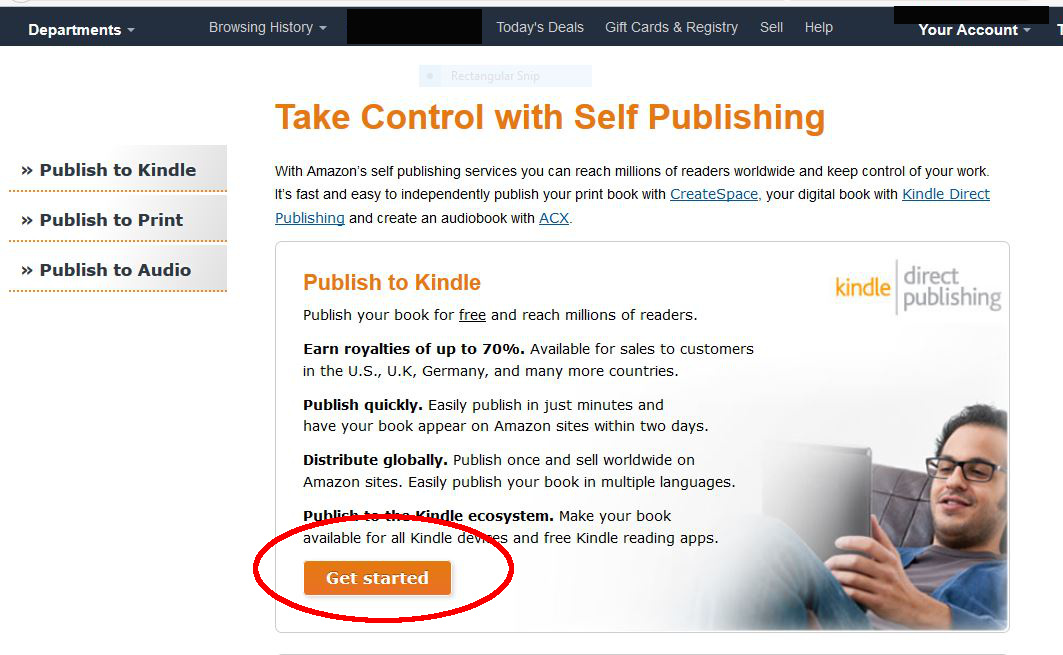
You have 3 choices on the left, Kindle, Print (which is Createspace) or Audio. Ignore the Audio. You’re not making music here. You want only the book-related choices. I’m going to give some advice, which you can take or leave depending on how you choose to edit your book. (Of course, you’ve already edited it, and it’s a pristine manuscript.)
My editor and I discovered that we work together best when she has her notes on paper. She is perfectly capable of editing in digital, but for both of us, we are more comfortable working off notes in paper and ink. I clean up my book the best I can, run the whole thing bit by bit through ProWritingAid (and if you don’t have it, I strongly recommend you do that right away), format my book into a paper version with page numbers and all, and submit it as a pdf to Createspace. I order a draft version and turn it over to her, then wait for all the red-pencilling to come back. Fortunately, Createspace knows you are working with a draft so they give you flexibility with time, whereas Kindle now wants you to have a release date in mind when you upload it. Beginning with a paper book, I can wait for my editor to finish without worrying about a clock ticking in the background.
So when I’m publishing each book now, I start with Createspace. That has the added advantage that I get 2 for one. After fixing my editor’s final slashes, I have a paper book ready to go. Since Kindle ignores headers and footers, all I have to do is save my document again and label this new document BOOK XYZ Kindle. Take out the header (and footer, if you used one), and put in a linked Table of Contents. To do that, Amazon has a FREE book on how to format linked chapters, so just follow their instructions.
Now you have 2 books, all done and ready for uploading.
That’s the end of my free advice, which you can take or leave, as you wish.
For the purpose of this blog, we’re going to assume you want to stick with Kindle first and worry about whether to go into paper later. You’ve already done the editing, and you have a clean manuscript. (Kindle will now remove your book if you’ve made too many mistakes, so edit, edit, edit!)
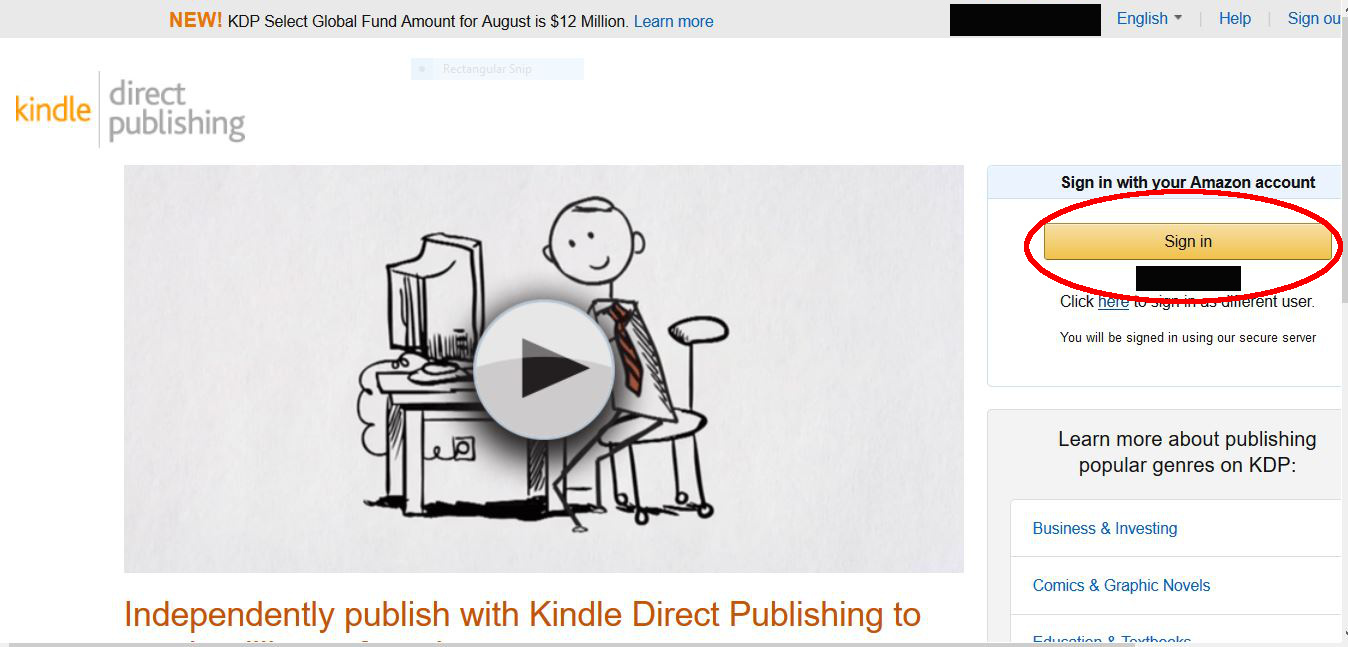
You’ve chosen the Kindle box, and you click on the “Get Started” tab. No surprise here, you have to log in, as shown below.
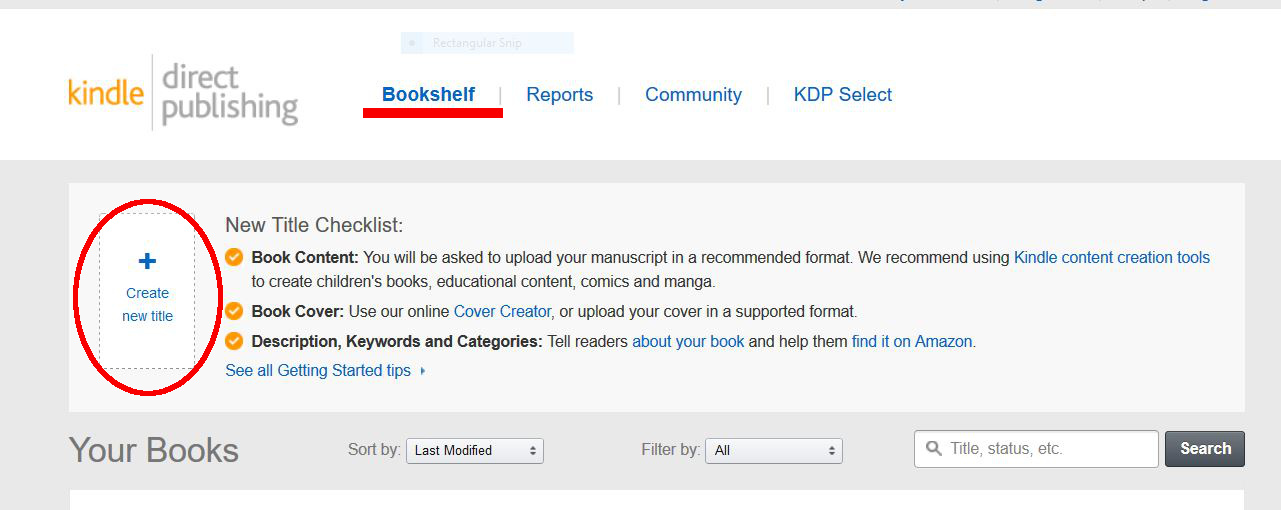
Now you’re logged in, and the very next page you see is filled with all manner of confusing things. Tabs across the top with names like Bookshelf, Reports, Community, and KDP Select. Lower on the page is what looks like some kind of chart. You will notice you are on the “Bookshelf” tab. Ignore those other tabs for now. Look for the long horizontal rectangle on your Bookshelf page named “New Title Checklist.”
This is where you upload every single book you write. Eventually this will become second-hand, but for now, it’s all new and (it was for me at first) frightening. Click on the book-shaped icon in the New Title Checklist box that says, “Create New Title.”
It will take you to a new page that will walk you through uploading your book. Since this blog is getting way too long already, I will take you through at least some of what to expect in Part 2.